How to shoot a basketball
Height you can't choose. Your shot you can. Learn the motion in four parts, then repeat it until your hands do it without you. Every step below breaks down one piece of a single, smooth shooting stroke.
Get your stance right
Set your feet, staggered and aligned
Keep your feet no wider than shoulder-width — a little closer is fine — with your shooting-side foot a few inches ahead of the other. Turn both feet slightly toward your off-hand side, then line up your shoulder, hip, and shooting elbow with the rim so your whole body points where the ball is going.
Right-handed? Right foot leads.
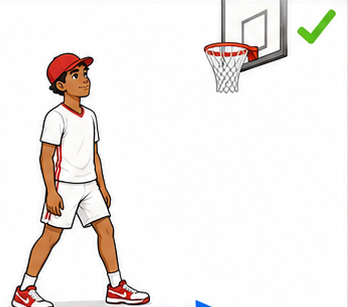
Keep a soft bend in your knees
Don't lock your legs — a stiff stance is easy to bump off balance and slow to move from. Hold a comfortable bend so you're loaded and ready to rise the instant the ball is in your hands. Find the stance that feels natural to you, then use the exact same one every time until you stop thinking about it.
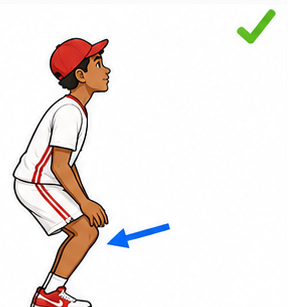
For range, turn and drift slightly forward
On a longer shot, rotate a little more in the air and let your body float slightly toward the basket, shoulders back and loose. The power comes from that turn and from relaxed shoulders — not from shoving the ball with your chest and arms, which makes the shot stiff and short. Rehearse the turn without a ball first.
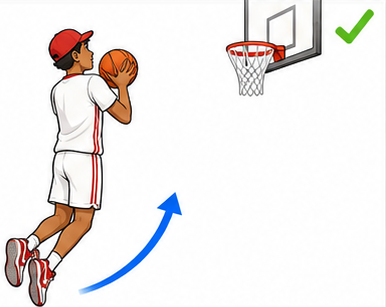
Hold the ball correctly
Dip the ball to your waist or thigh
Bring the ball down to a low, consistent starting point around your waist or thigh. From there, the ball and your shooting eye should sit on one straight line to the basket. If you catch it already moving — off a bounce pass or the dribble — you may flow straight into the shot without dipping.
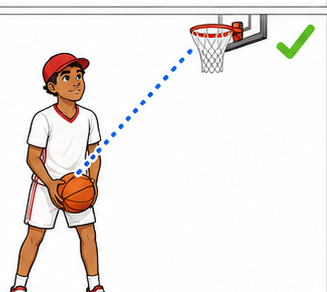
Line your elbow up under your shoulder
Set your shooting elbow so it stacks under your shoulder — not jammed dead-center beneath the ball. Put the ball in this same place every single time. Your shooting hand sits behind the ball to launch it; your off hand rests on the side for guidance only, and does no pushing.
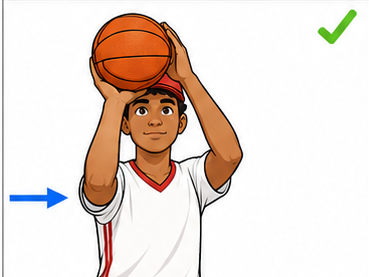
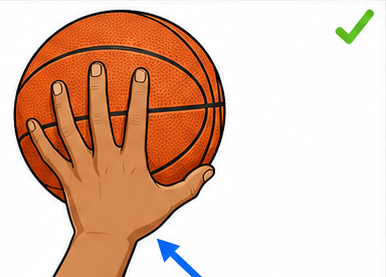
Grip it on your fingertips
Spread your shooting hand so your fingertips lie across the seams, with a small gap between your palm and the ball. Control comes from your finger pads, not your palm — that gap is what lets the ball roll off cleanly with backspin. Your guide hand simply steadies the side until release.
Fingers wide = more control.
Take the shot
Find your target
Pick your aim point and lock onto it. Shooting straight in? Focus on the rim. Banking it? Focus on the exact spot on the backboard you want to hit. Your eyes drive an accurate shot — once you release, either track the ball's flight or keep your gaze on the rim, whichever settles you.
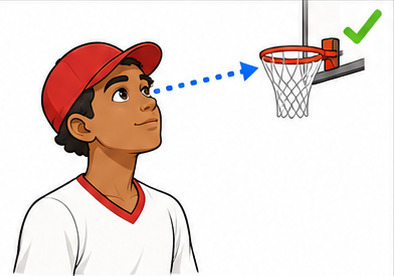
Straighten your legs and rise
Drive up through your legs and let that power carry the ball. Legs, torso, and arms move together in one coordinated push — the shot isn't your arm alone, it's your whole body uncoiling toward the rim. Tired legs make the ball come up short, which is exactly why fatigue creeps into your form late in a session.
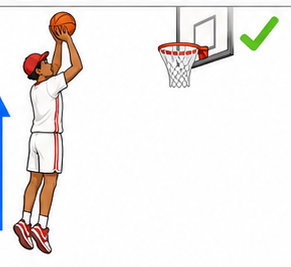
Push the ball up in one motion
As your hips rise, sweep the ball smoothly from the dip up to eye level and beyond — one unbroken motion, hips and elbow rising together. Keep it out in front; never let it drift behind your head or off to the side. Your guide hand only rides along, keeping the ball steady while your shooting hand does the work.
This is the moment ShotPocket learns and buzzes at.
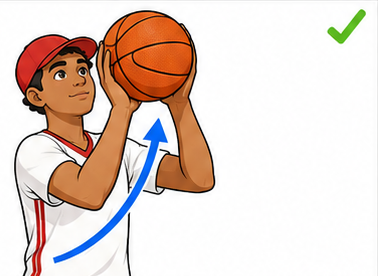
Release with backspin, just before the top
Let the ball go a beat before you reach the peak of your jump, shooting hand aimed at the rim. Straighten your elbow and snap your wrist so the ball arches up and drops in, rather than firing flat. Roll it off your fingertips — even, symmetrical backspin is the tell that your hand was on it right.
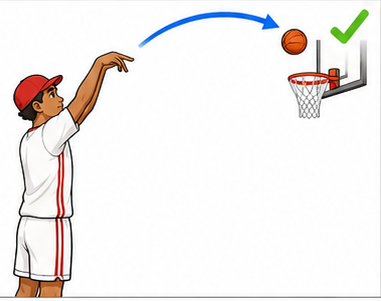
Hold your follow-through
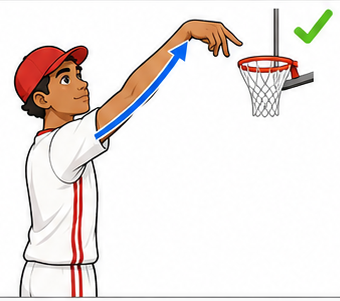
Finish the shot and freeze there. Your shooting arm reaches toward the rim, wrist relaxed and cocked downward, fingers pointing at the hoop — the classic "swan." Hold that shape until the ball lands. Shooting from the wrist without following through costs you accuracy on every attempt.
Reach toward the rim — and leave your hand there.
Groove it — where ShotPocket comes in
Build muscle memory
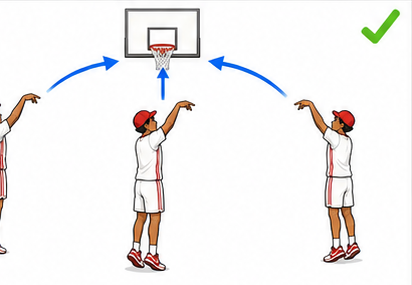
In a real game there's no time to think through mechanics. The goal is a stroke so grooved it fires on its own — same stance, grip, rise, and release, whether you're at the free-throw line or well behind the arc. Shoot from every angle and distance, keeping your form identical each time.
This is the part ShotPocket measures. On your wrist it tells a real shot from a pump fake, scores how repeatable your release is, and buzzes at the exact moment you let go — so you can feel "on time" without ever looking at a screen.
Learn the form here. Groove it with the watch.
Ready to put it on the clock?
See the whole ShotPocket loop — set up, calibrate, shoot, mark your makes, and read your form back. How to shoot with ShotPocket →